


AK-380 preamp out adding
Recently I have bought a very cool small chiness stereo amplifier called AK-380. It has a Bluetooth, USB and SD card multimedia imputes and also an digital FM tuner (without RDS) and a line in ( you can choose from 3.5 jack or RCA but the line in is one).

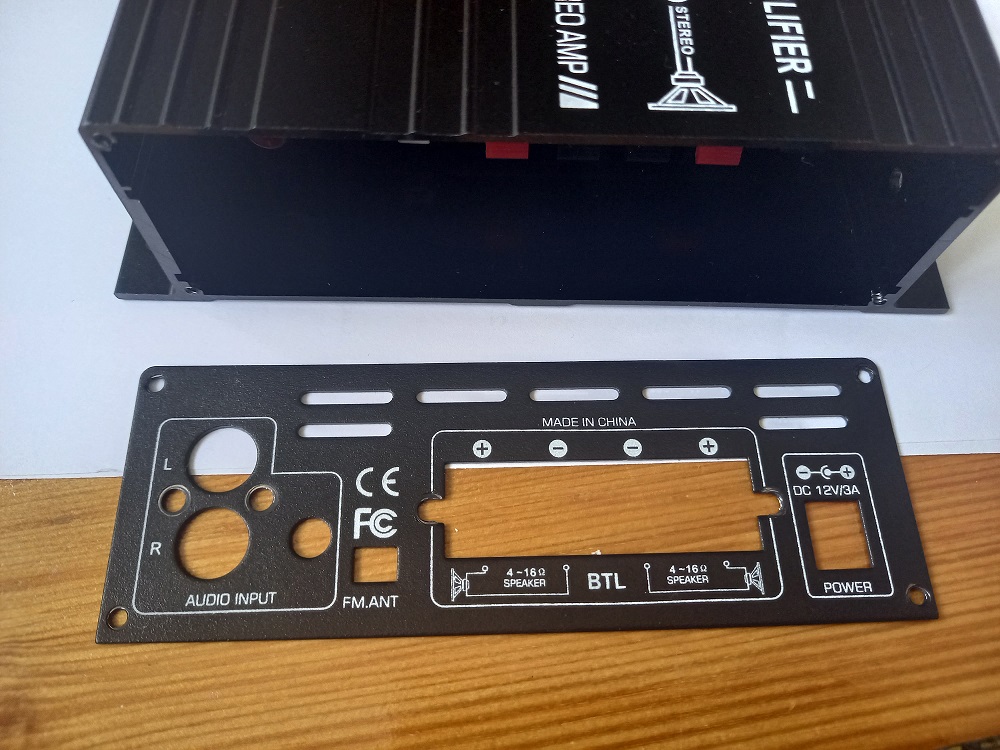
The output has very clear sound as it was rated as AB class amplifier with bass, treble and volume potentiometers on the front panel. Not the last – the price was great for such functions in one unit. The built quality is excellent , aluminum and very good quality plastic. It looks not cheap but professional.
The power supply is 12V as it was design to be used in cars also and recommended supply current is 3A. I have a 220V- 12V/5A power supply which I used to power the amp. It was advertised as 2 x40W RMS at 1 kHz and 400W music power at 4 to 16 Ohms but when I connected it to my Magnat columns it was no so powerful so i decided to check what kind of IC is used inside for the end amplifier. It appeared to be YD7377/TDA7377. You can see below the data sheet of the IC:

As you see for sure at 6 or 8 Ohms and with power supply voltage of 12V there will not be even 30 Wats at the output.

From the above graphics it is about 15 Wats with 12V power supply at T.H.D = 1% but I think it could be a bit lower in reality. So i decided to use AK-380 as an preamplifier as it has all the necessary imputes ( USB or SD card for MP3, Bluetooth, FM digital tuner which is mono unfortunately) so to connect to an old powerful amplifier for more power. Here I realized that K-380 do not have preamp output and I have to do something about this. I checked for the imputes of the IC and it appeared that pins 4 and 5 are the impute for the Left channel and 11 and 12 for the right channel. You can see below the typical basic schematics from the IC datasheet:
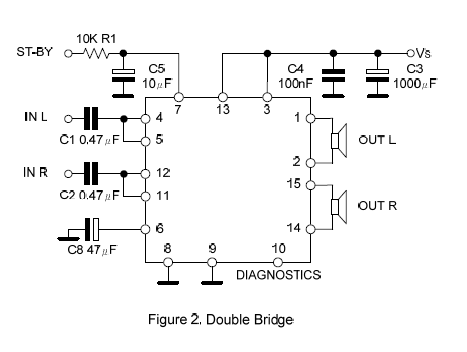
So we need to make an output to the panel from C1 and C2 from points IN L and IN R and to get this signal to the rear panel on the amplifier by 3.5 female jack.
So now i began to reasemble the amplifier, first i removed the reare panel:
Then unscrew the 4 bolts of the front panel , no need to remove anything else, just slide out the whole board.

You can see the TDA7377:

On the below picture you can see the pins of the Left and Right channels of IC (4 and 5)(11 and 12) and where you have to solder the connection for preamp signal.
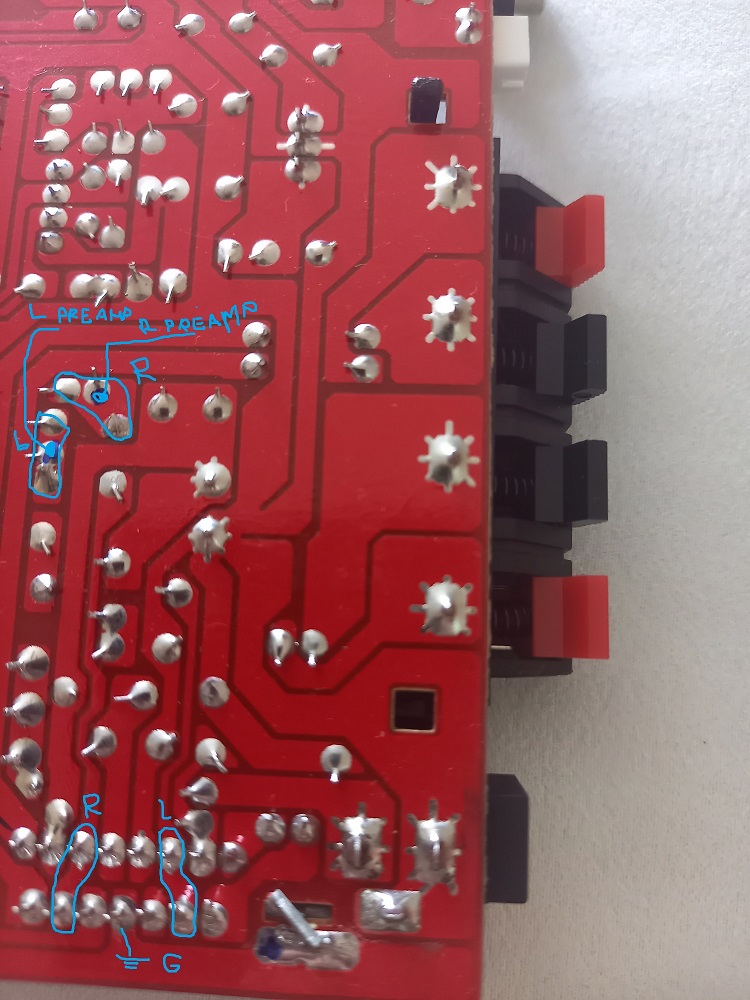
I have use cable for speakers 2×0,25mm2 split to 3 separate parts.

Now you have to mount the 3.5 mm female jack on the rear panel. You have to buy one in advance and have to drill the hole for it. I have used F037C JC-114 STEREO JACK 3.5MM but you can use another just make sure that there is frees pace for it.


Now slide back the board into the housing. Make sure that it fits to the small guide channels on the housing. Then mount the 3,5 jack on the rear panel and put the panel back with the bolts to the housing.

The task is completed and now you can connect the preamp out to your old powerful end amplifier and to make neighbor to now about it 🙂